
Step-by-Step Guide: Installing a New Conveyor Belt for Optimal Industrial Performance
In Australian industries like mining, agriculture, food processing, and manufacturing, efficient material handling is non-negotiable. At the core of that efficiency lies a well-installed conveyor system—and more specifically, the conveyor belt.
Whether you’re upgrading outdated equipment or fitting out a brand-new facility, the quality of your installation will directly impact uptime, safety, and productivity. Here’s a practical, step-by-step guide to help you install a new belt correctly—tailored for tough Australian working environments.
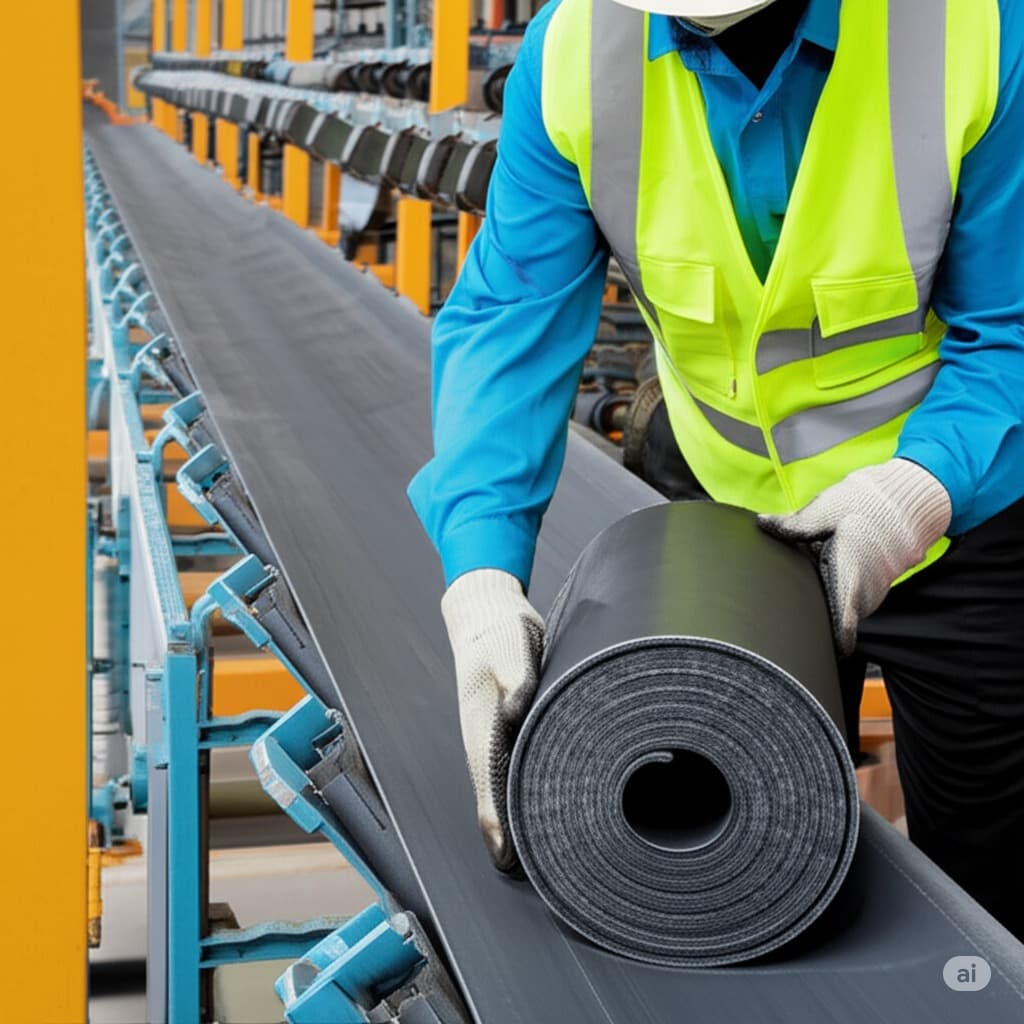
Step 1: Conduct a Full System Audit
Before installation begins, evaluate your current system. Is the structure square and stable? Are the pulleys and idlers still in good condition?
Check for:
Frame misalignment
Rust, dust build-up, or oil residue
Roller wear or uneven tension
Compliance with Australian safety standards
Fixing minor issues early avoids future breakdowns or inefficiencies.
Step 2: Select the Right Belt for Your Application
Australian industries operate under extreme conditions—whether it’s high temperatures in WA mining sites or high-moisture environments in coastal food factories. Choosing the right belt depends on several factors:
Material type and volume
Conveyor length and incline
Operating environment (heat, moisture, chemicals)
Industry-specific hygiene or fire-resistance needs
Work with local experts to ensure compatibility with your industrial conveyor system and operating goals.
Step 3: Gather the Right Tools and Team
Conveyor installation is a technical task that requires trained professionals. Assemble your crew and make sure you have:
Belt clamps and pulling devices
Laser or straight-edge alignment tools
Tension gauges
Splicing kits (mechanical or vulcanised)
Personal protective equipment (PPE)
In Australia, adhering to OH\&S guidelines during installation is mandatory to protect your workers and avoid legal trouble.
Step 4: Lay the Belt Into Position
Unroll the belt along the system’s length with care. Feed it over the head pulley, tail pulley, and any return rollers, avoiding twists or kinks.
Double-check:
Direction of movement (especially for textured or patterned belts)
Even feed to prevent off-centre tracking later
Clean rollers and pulleys to avoid snagging
Step 5: Perfect the Alignment
Improper alignment is one of the leading causes of downtime in Australian processing plants. A misaligned belt increases wear, consumes more energy, and risks material spillage.
To align the belt:
Make sure all pulleys are square to the frame
Check idler positioning and tracking guides
Use laser alignment tools for precision
Run a slow test before finalising to spot early drift or belt wander.
Step 6: Tension the Belt Correctly
Correct tensioning is critical. An over-tightened belt causes excessive wear on bearings and motors, while under-tensioning leads to slippage and tracking issues.
Use a belt tension gauge to adjust tension based on:
Belt type and material
Load weight
Belt length and incline
Manufacturer recommendations
In high-speed environments, dynamic tension adjustments may be needed once the system warms up.
Step 7: Splice or Fasten the Ends
Joining the belt properly ensures system stability. In Australia’s demanding industries, two types of splicing are common:
Mechanical fasteners: Ideal for temporary belts or quick installs
Vulcanised joints: Best for permanent setups—long-lasting and seamless
If hygiene or smooth product flow is a concern (especially in food or pharma), vulcanised splicing is the better option.
Step 8: Test the System
Before going full speed, run the system at a low RPM to monitor:
Belt tracking and tension stability
Pulleys and rollers movement
Noise or friction issues
Any signs of misalignment or belt curl
Make small adjustments and retest. Only once everything looks smooth should you run at production speeds.
Step 9: Implement a Preventive Maintenance Schedule
Your conveyor’s long-term performance depends on regular inspection and servicing. We recommend monthly maintenance that includes:
Checking belt wear and surface condition
Verifying alignment and tension
Cleaning buildup from pulleys and guides
Inspecting splices and fasteners
Lubricating moving parts
Australian industries often face heavy dust, heat, or load stress—so proactive maintenance is not optional.
Final Thoughts
Installing a new conveyor belt is more than just a mechanical task—it’s a performance investment. When done right, you can expect improved throughput, reduced energy use, and longer equipment life.
At Prime Manufacturing, we support Australian businesses with high-performance belt solutions, technical support, and after-sales care. Whether you’re handling grain, packaging, minerals, or manufactured goods, we offer conveyor solutions that deliver reliability under pressure.
Looking to upgrade your current setup or install a new conveyor system?Get in touch with Prime Manufacturing today—your trusted partner in industrial conveying across Australia.